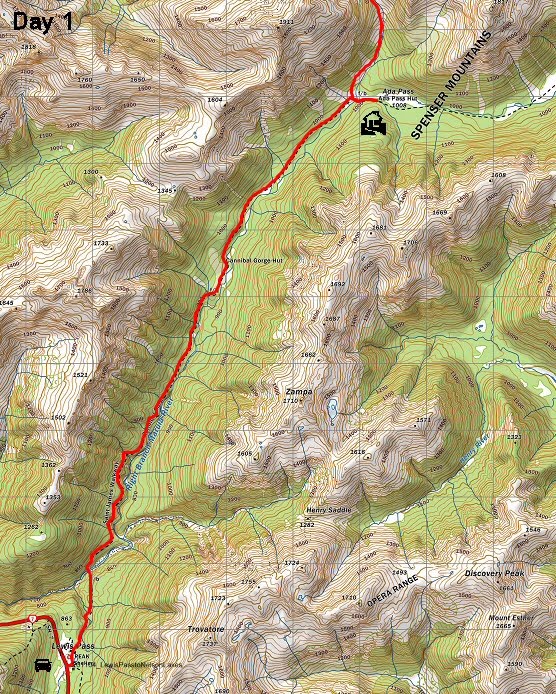
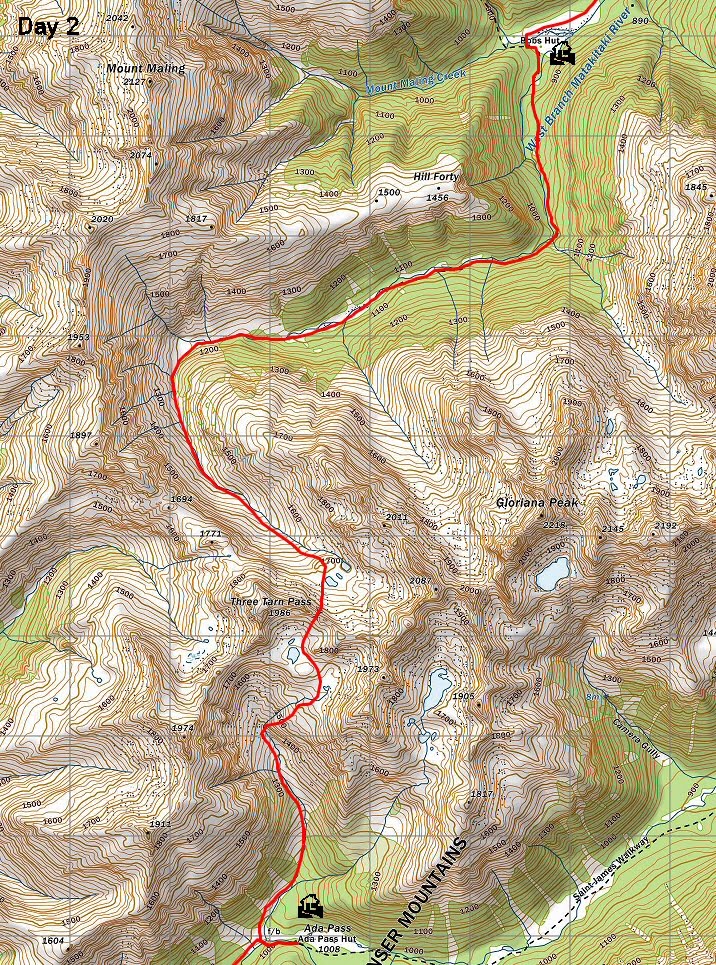
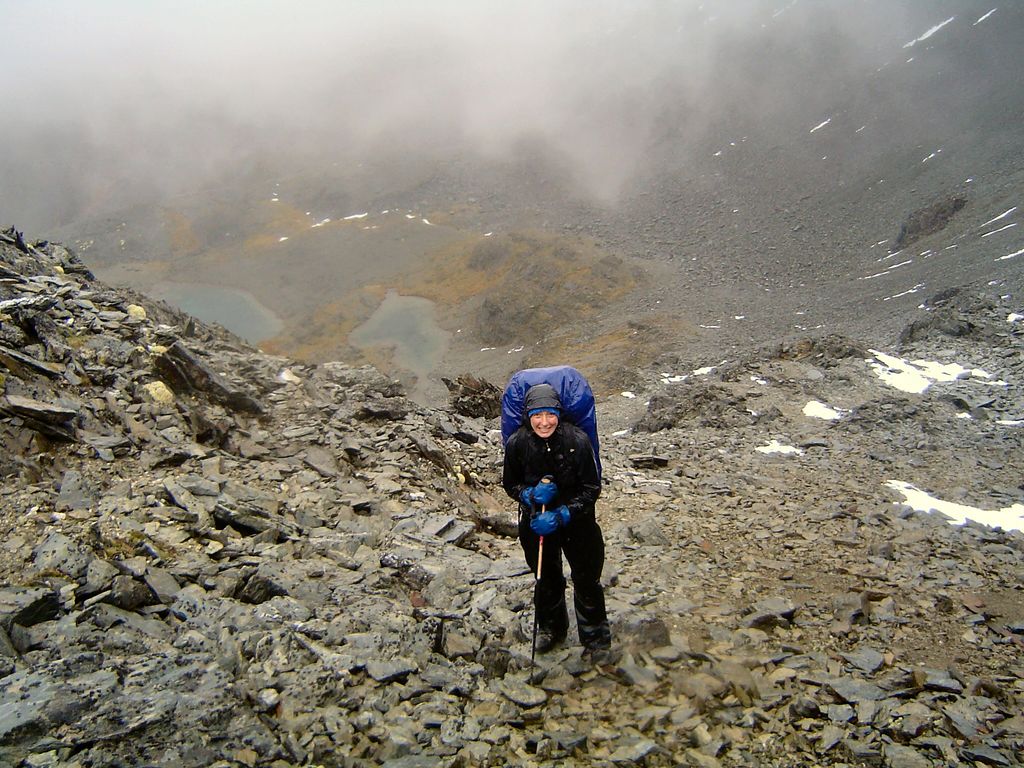
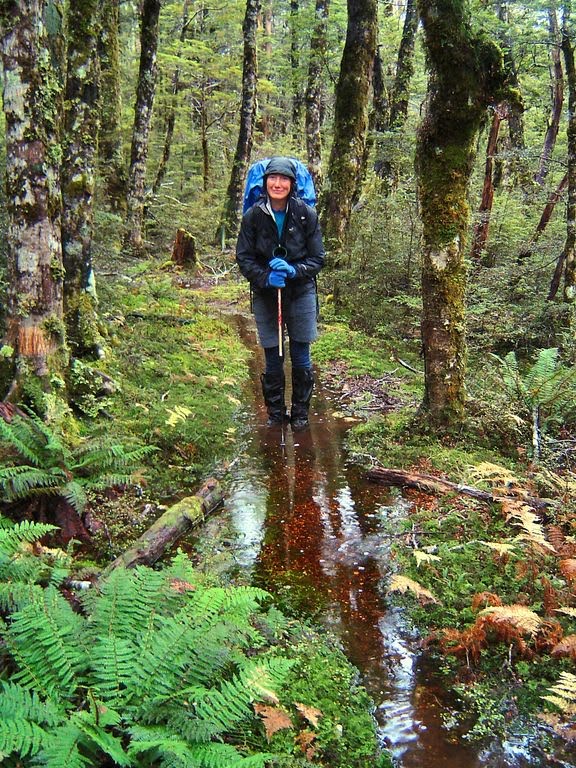
The rain came in during the night. Without any wind and good visibility though we couldn't really justify having a rest day, so we headed north up to the Three Tarn Pass. Pretty soon we were soaked. We stopped for morning tea in the upper basin, it was more or less the only time we stopped during a nine hour day.

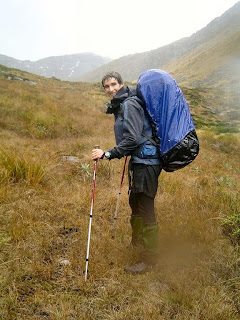
Above Ada Pass Hut in the wet.
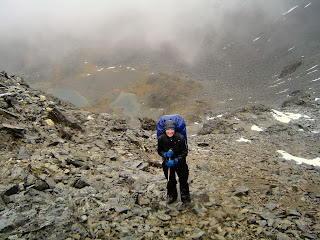
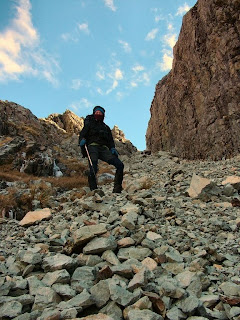
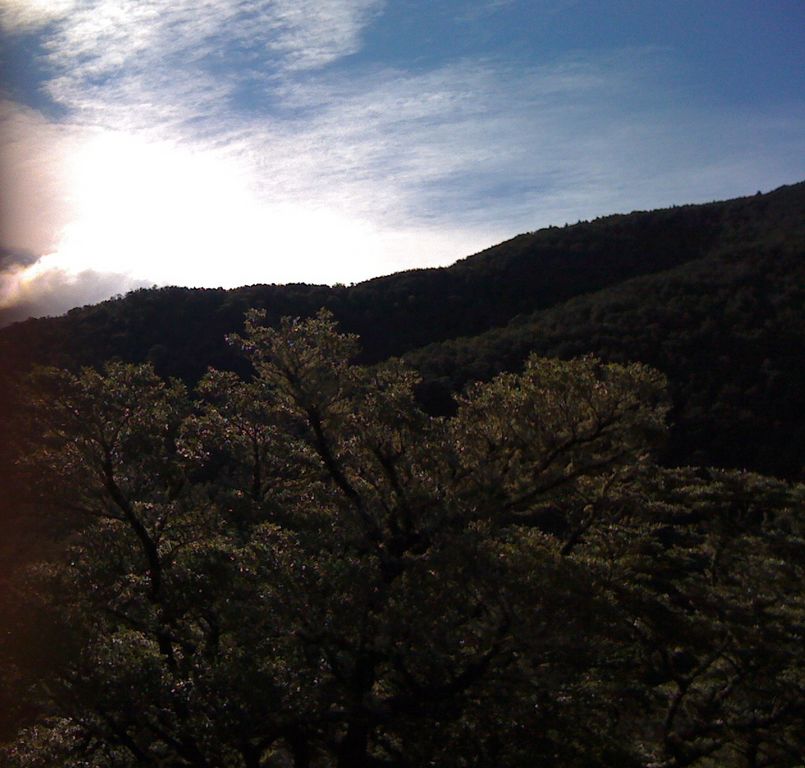
Climbing to Three Tarns Pass.
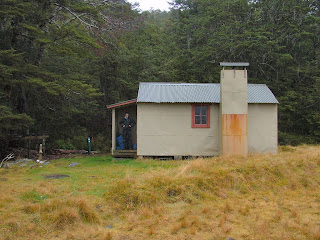
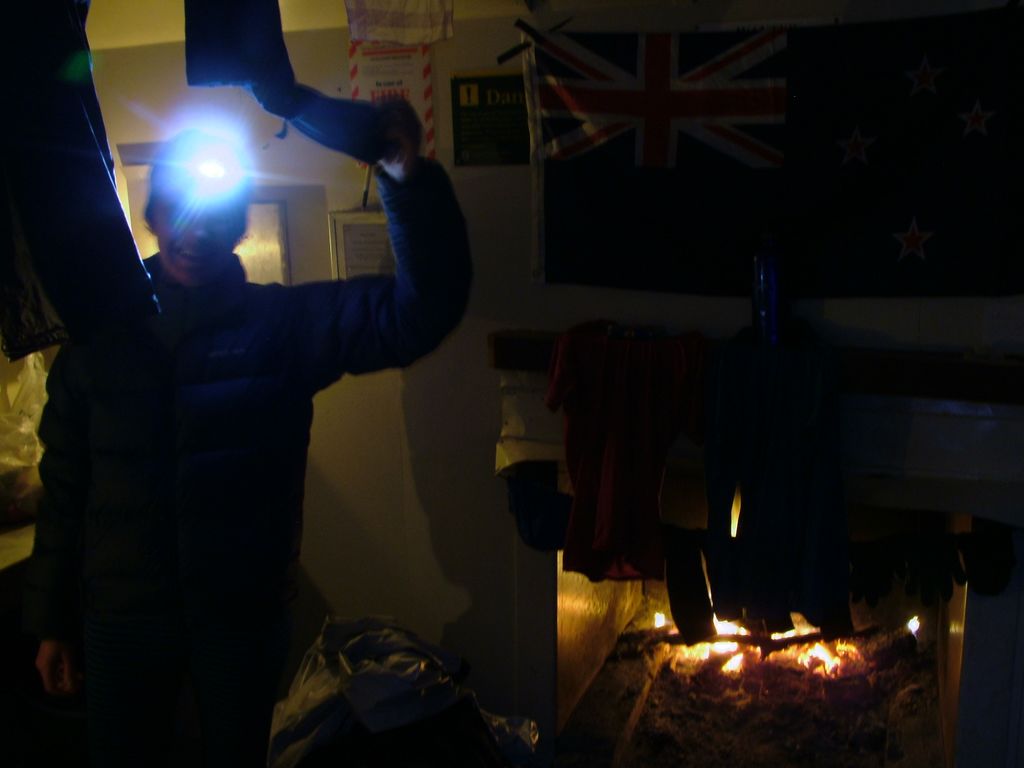
Less protected from the weather the pass itself was windy and we were getting blown about. The cloud had come down and we descended quickly down the other side. We were slightly off route here and had to pass packs down a particularly steep and loose gully but we negotiated it safely and below the Three Tarns headed down the West Branch of the Matakitaki River all the way to Bob's Hut, arriving just before dark. This gave us an opportunity to dry out in front of the fire and have a good nights sleep.

Descending the West Matakitaki.

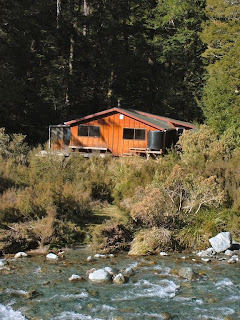
Evening at Bob's Hut.

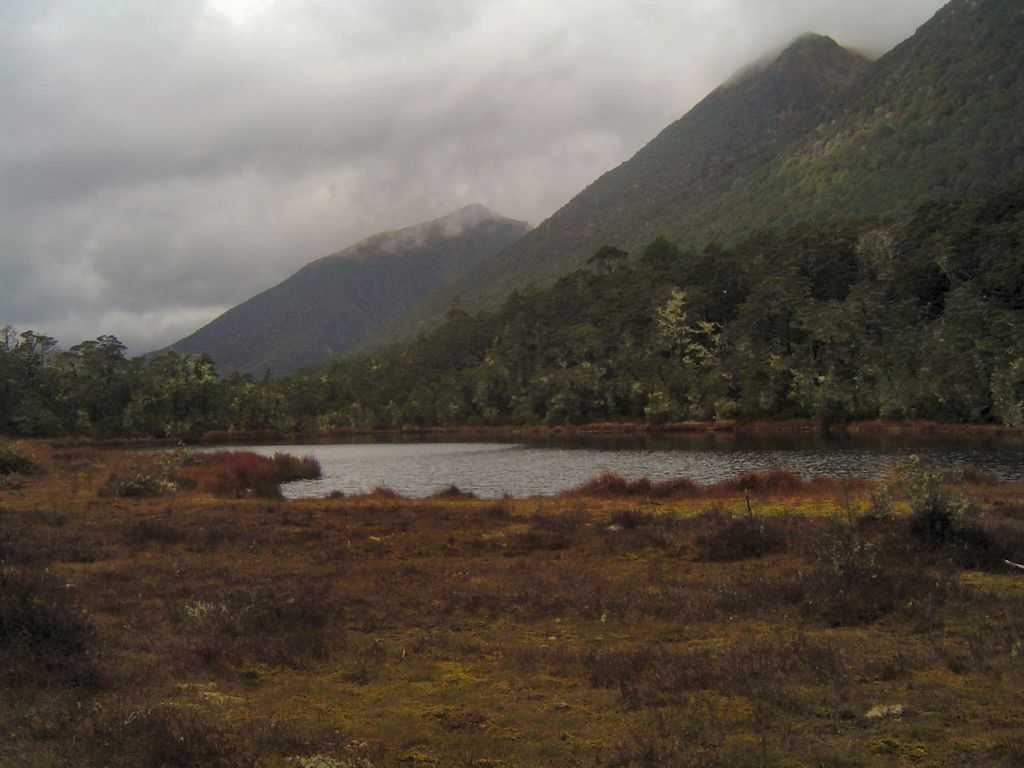
Bob's Hut and the Mount Maling Creek.
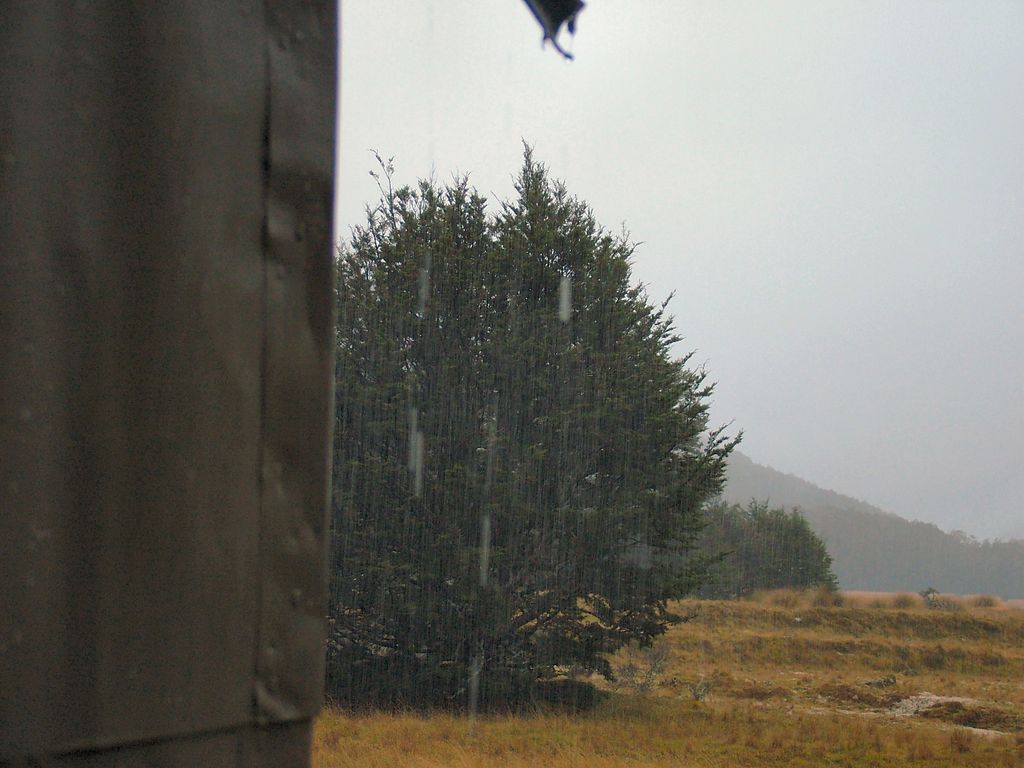
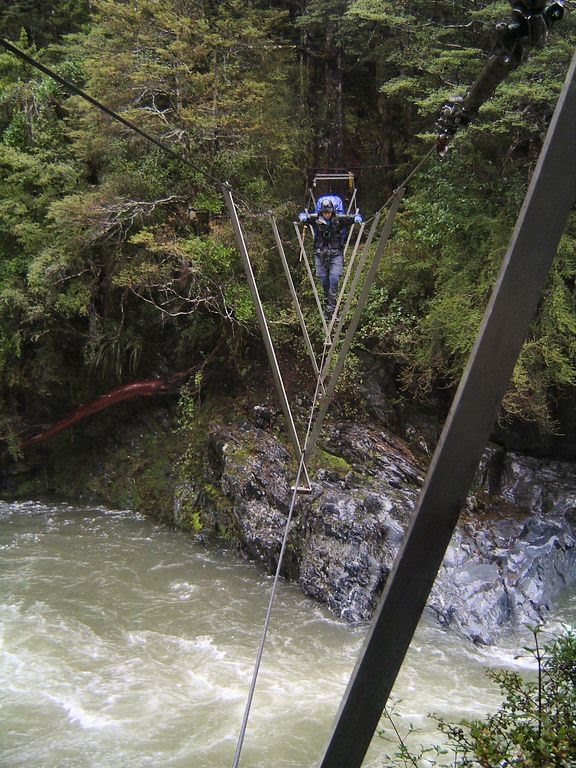
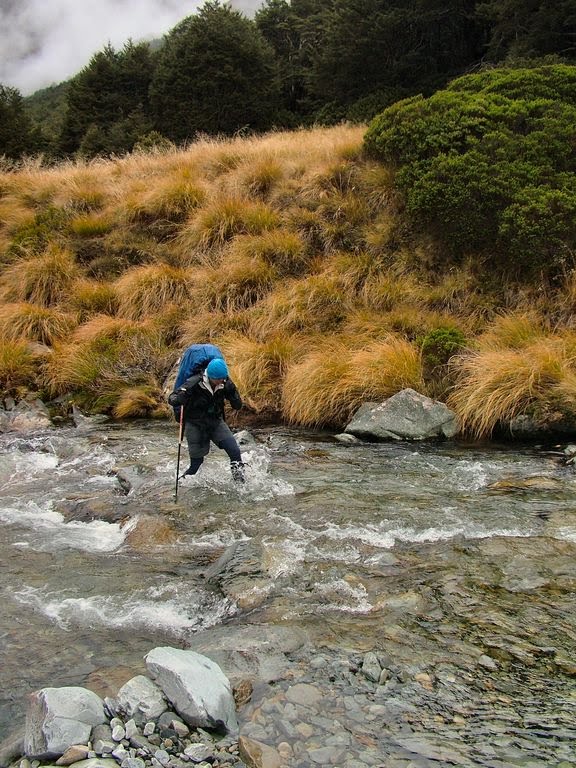
It rained most of the night and we waited until a small break in the weather came along at about 11:00 to head out. Unfortunately it soon started raining heavily again. Mount Maling Creek outside of Bob's Hut had been a straightforward enough assisted river crossing and further down we crossed Matakitaki River on a slippery walk wire, but we then began to run in to more and more problems crossing the side streams.

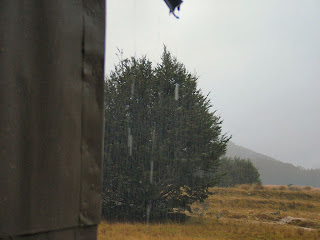
Rainfall at Bob's Hut.
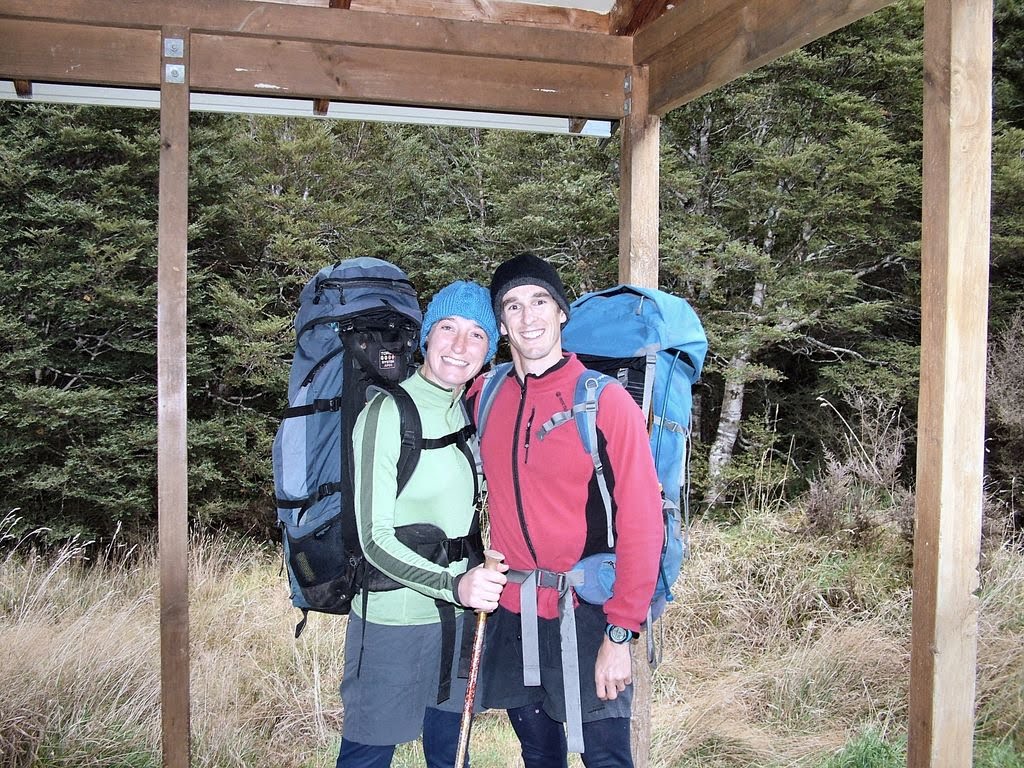
Leaving Bob's Hut.
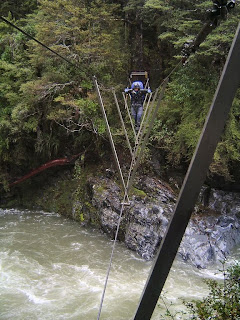
Carol on the Matakitaki 3-wire.

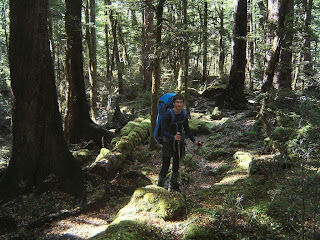
A wet day in the bush - Matakitaki Valley.
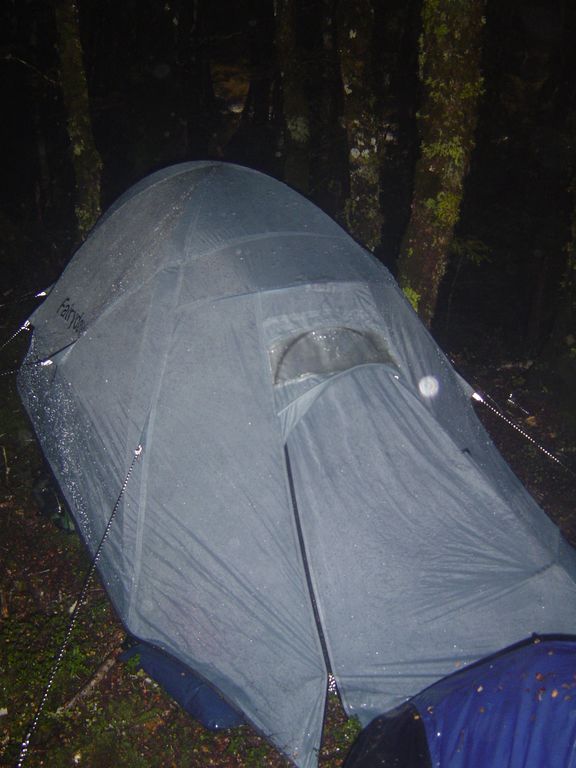
Eventually after having walked for only three hours we were forced to camp, after reaching one crossing which had a real risk of loosing our balance and being swept in to the main branch of the Matakitaki. We spent a fairly wet and some what miserable night camped in the bush with overly large tree routes poking through the tent which even the thermarests couldn't fix. Luckily it sort of stopped raining during the night and the creek was easier to ford the next morning, having dropped a good 30cms overnight.
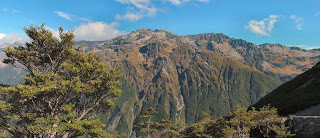
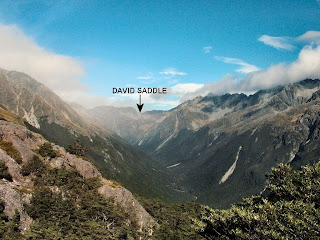
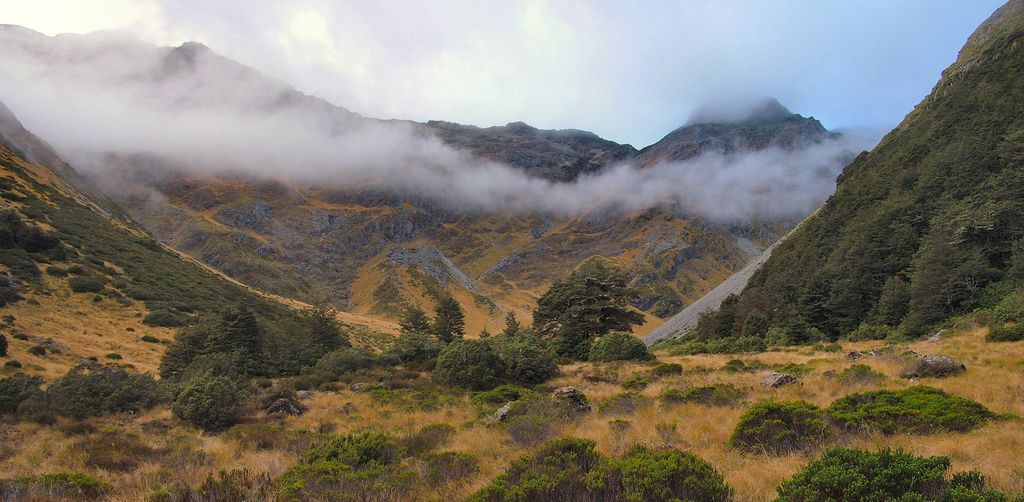
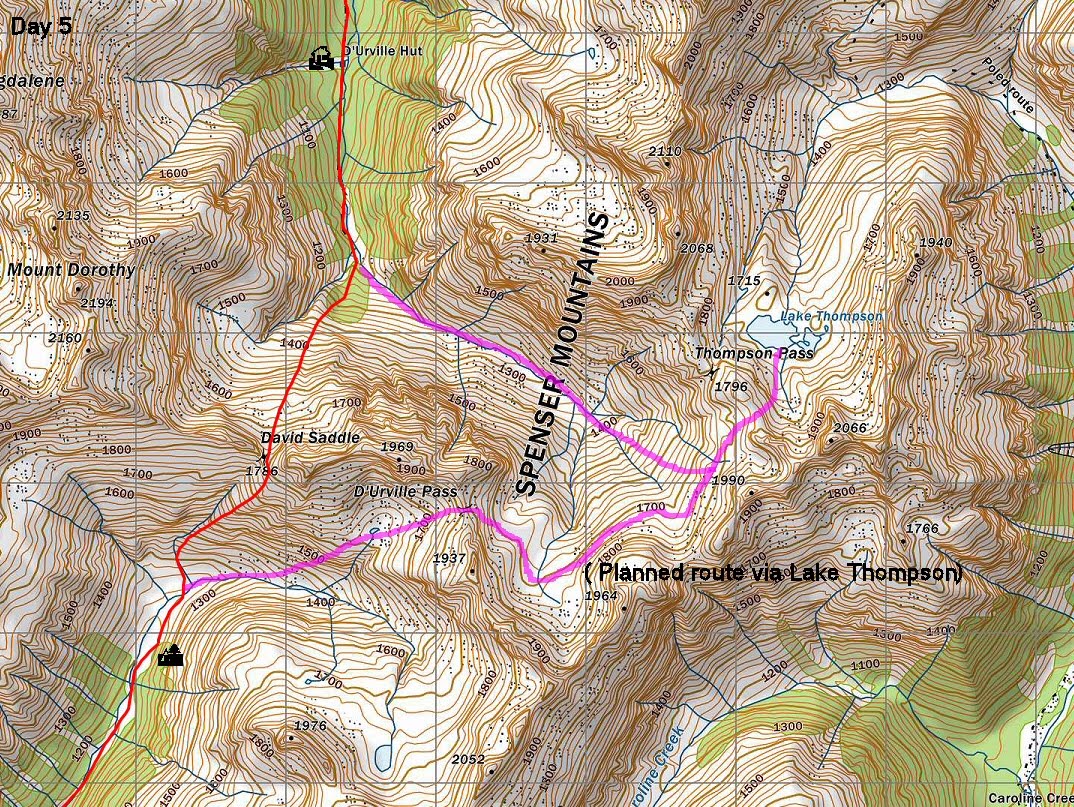
 David Saddle route.
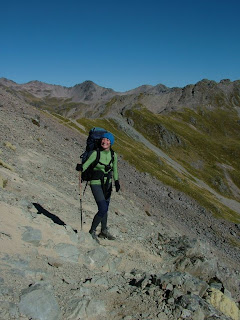
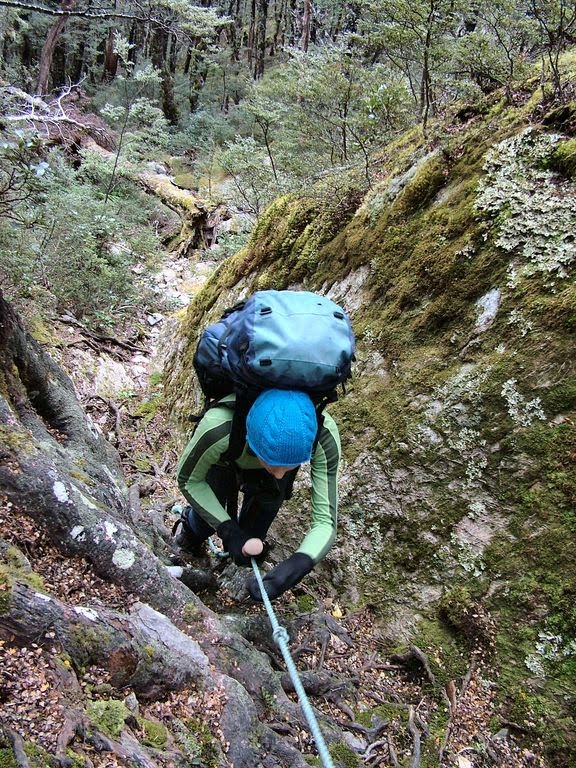
This was different to our original plan - we had wanted a high level camp at Lake Thompson but the question now was whether we could get over David's Saddle safely. The whole thing was a bit marginal, with some scrambling around on steep slippery rock especially near the top and the constant risk of being blown over but we took our time and arrived safely, with just the loss of my beanie, blown straight off of my head.
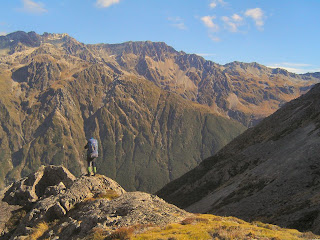
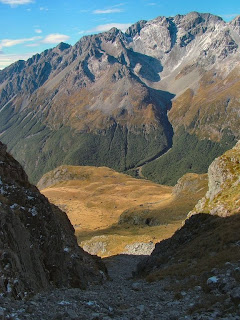
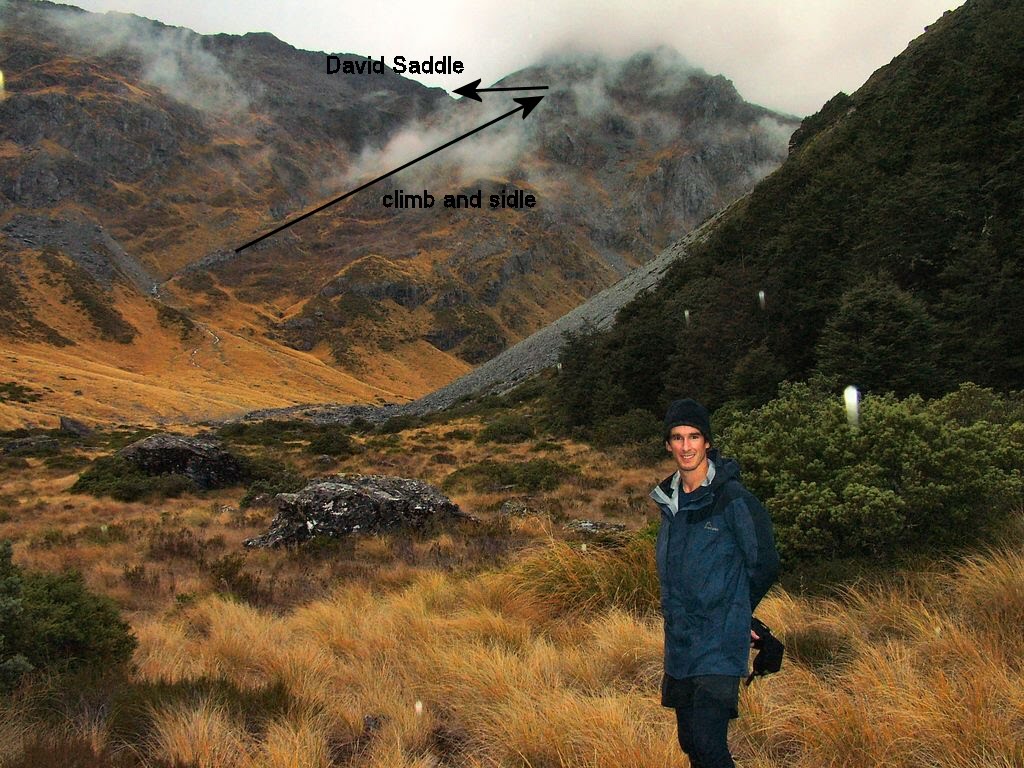
 Lower section of the climb to David Saddle.
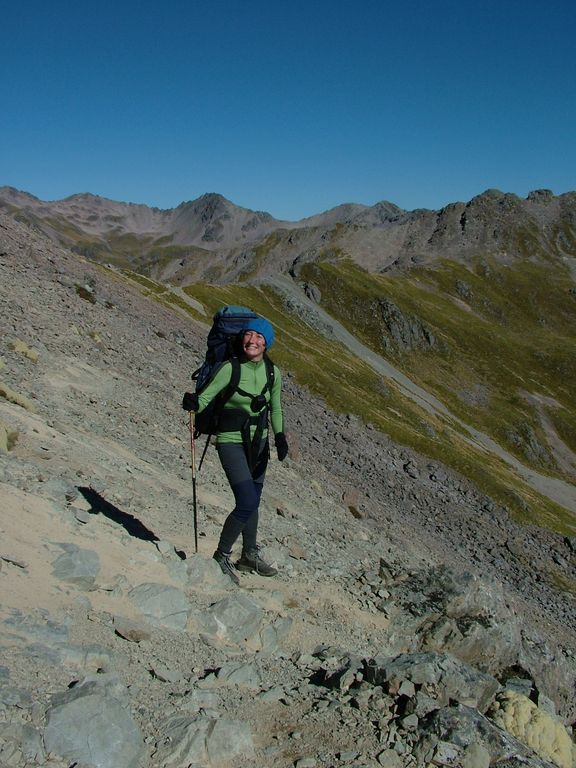
 Carol on the David's Saddle route.

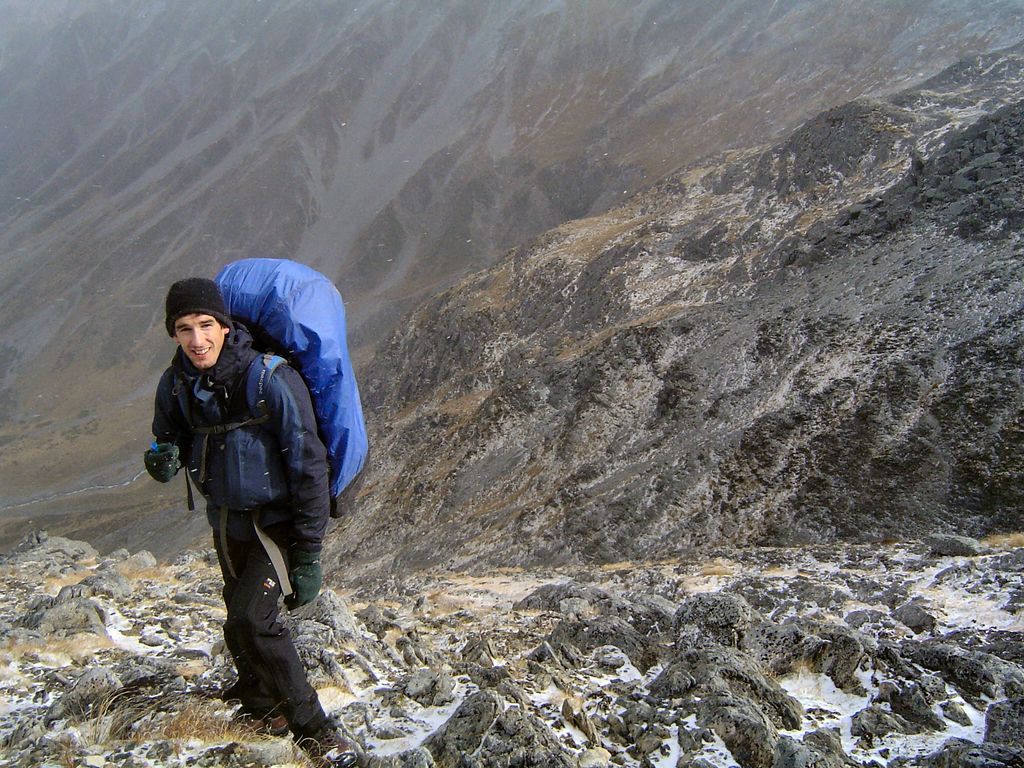
Climbing David's Saddle in poor conditions.
 The top section of David's Saddle.
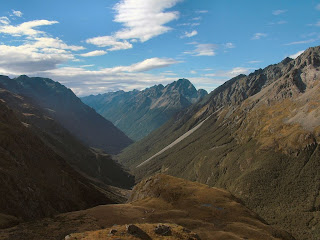
The weather on the other side was better, though the light snow flurries continued for most of the day. The view over to Mount Mahanga from the top of the pass, was our first clear view of the mountains so far. The descent on the D'Urville side of the pass was on tussock and generally straightforward. We reached the 2 bunk upper D'Urville hut in good time.
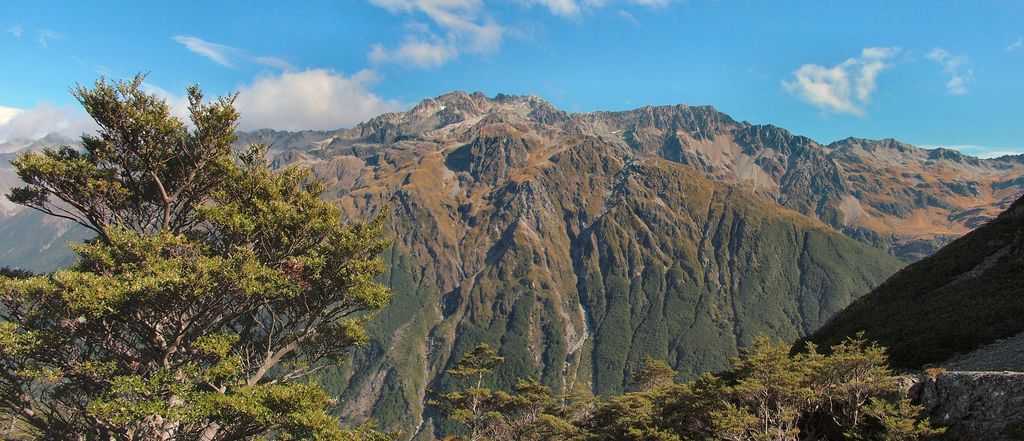
 Mount Mahanga from David's Saddle.
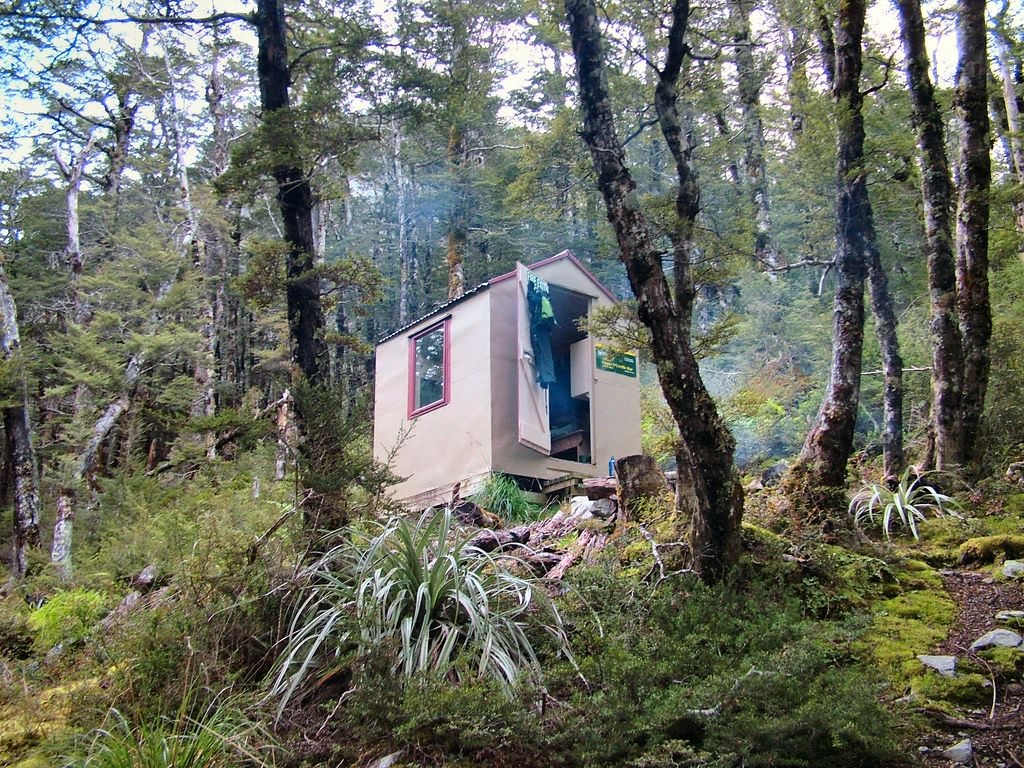
 Upper D'Urville Hut.
This marked a turning point in the trip in terms of the weather, - it was sunny from here on in - although the wind didn't drop for another day. We crossed Moss Pass to Blue Lake with glorious sun and blue sky, though we were once again scrambling around like crabs on the pass itself because of the wind. Descending there was a small amount of ice in the gut, but all avoidable. We shared Blue Lake Hut with one other person, a Belguim, who was headin that way tomorrow. He also told us that our Italian friends had turned around at Blue Lake as one of them had hurt their knee so they had elected to walk out.

 The short rope section on the way to Moss Pass.
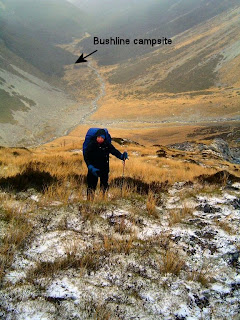
 Bushline on the ascent of Moss Pass.
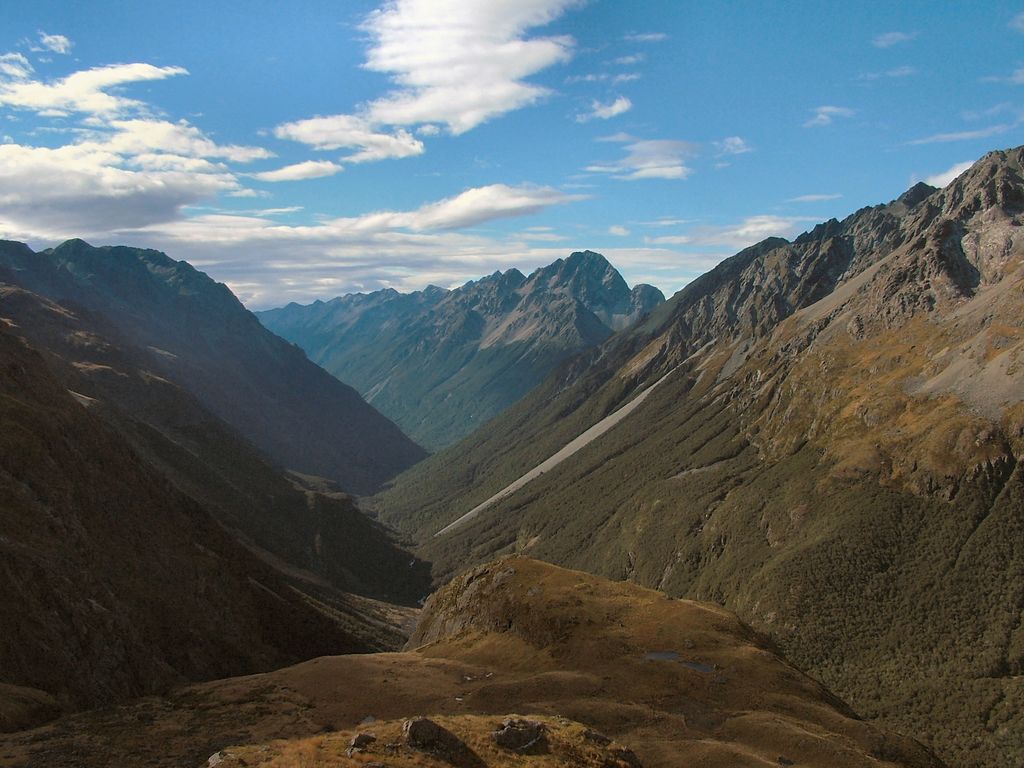
 The head of the D'Urville Valley and David Saddle.
From the bushline on the Moss Pass route.
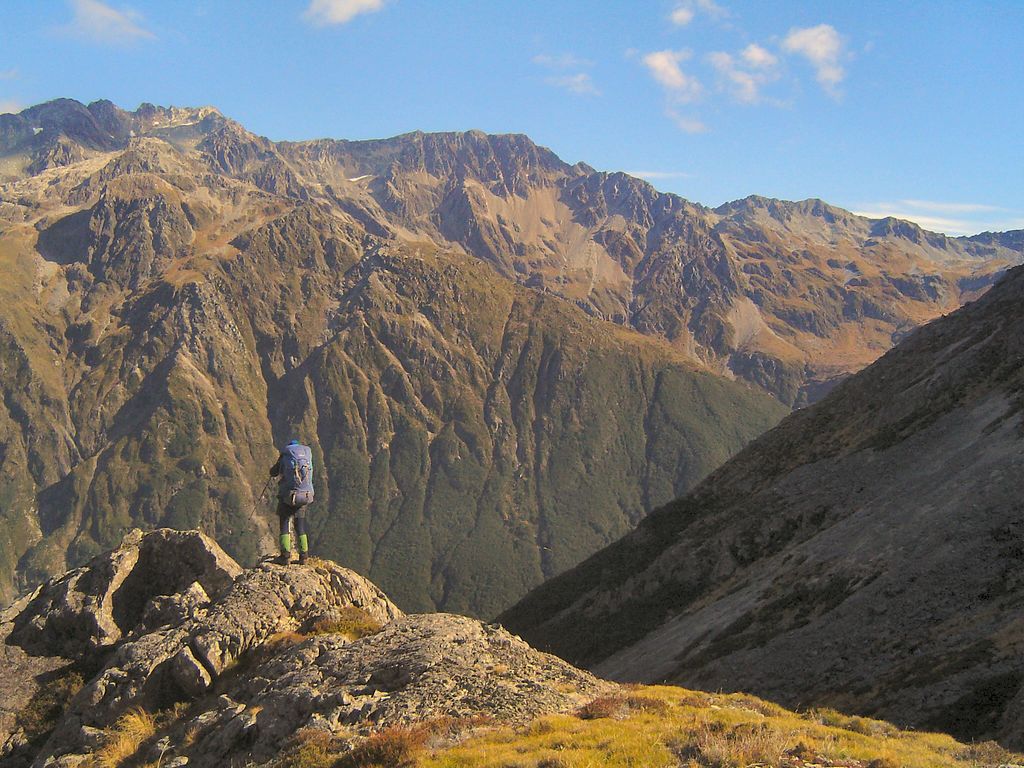
 Near the top of Moss Pass, the view back across the D'Urville.
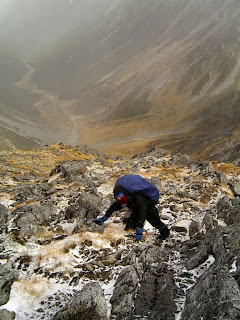
 The gut on the Blue Lake side of Moss Pass.
 Carolina descending the gut.
 The West branch of the Sabine.
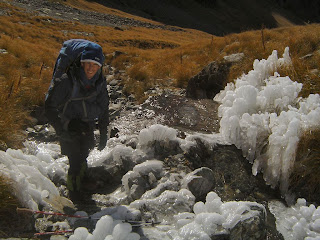 Curious ice features on the stream draining the Moss Pass.
 Descending to The Blue Lake.
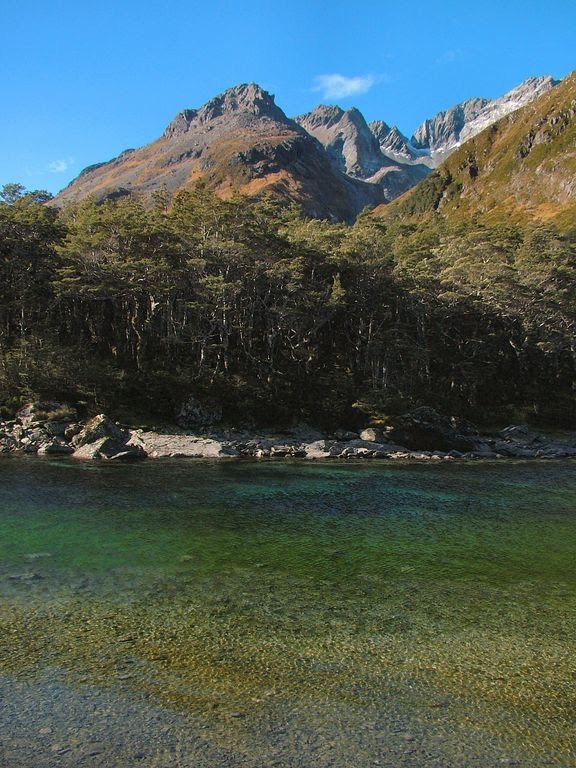
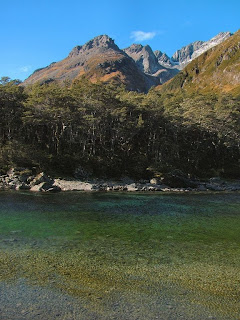 The Blue Lake.
The next day was the longest day of the trip, 11 hours in total and mainly in the bush. The weather was perfect, but cold, minus 1 in the hut itself when we awoke. We headed down to Sabine Forks and then all of the way down the Sabine Valley to Sabine Hut and Lake Rotorora. The large Sabine Hut is not one of our favourites, appearing to have at least two big problems namely: 1) the most sandflies this side of Westland and 2) it was once again full of pupils from Boyce's school for the delinquents.

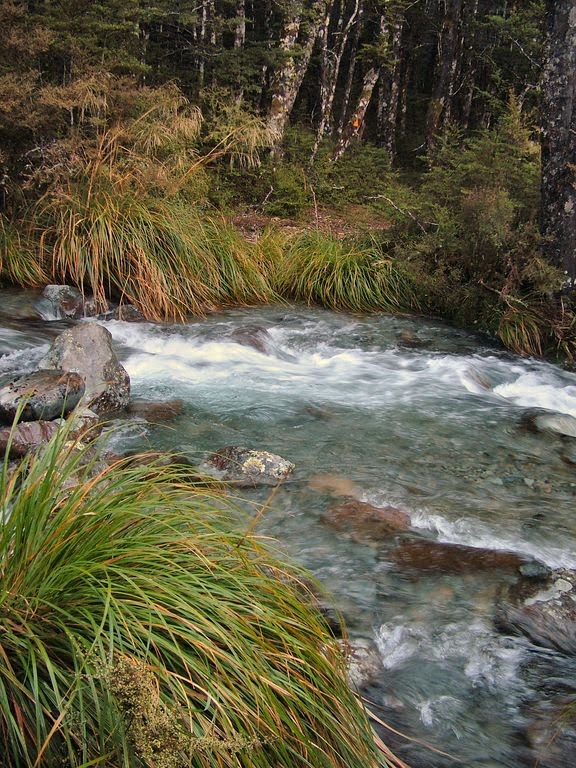
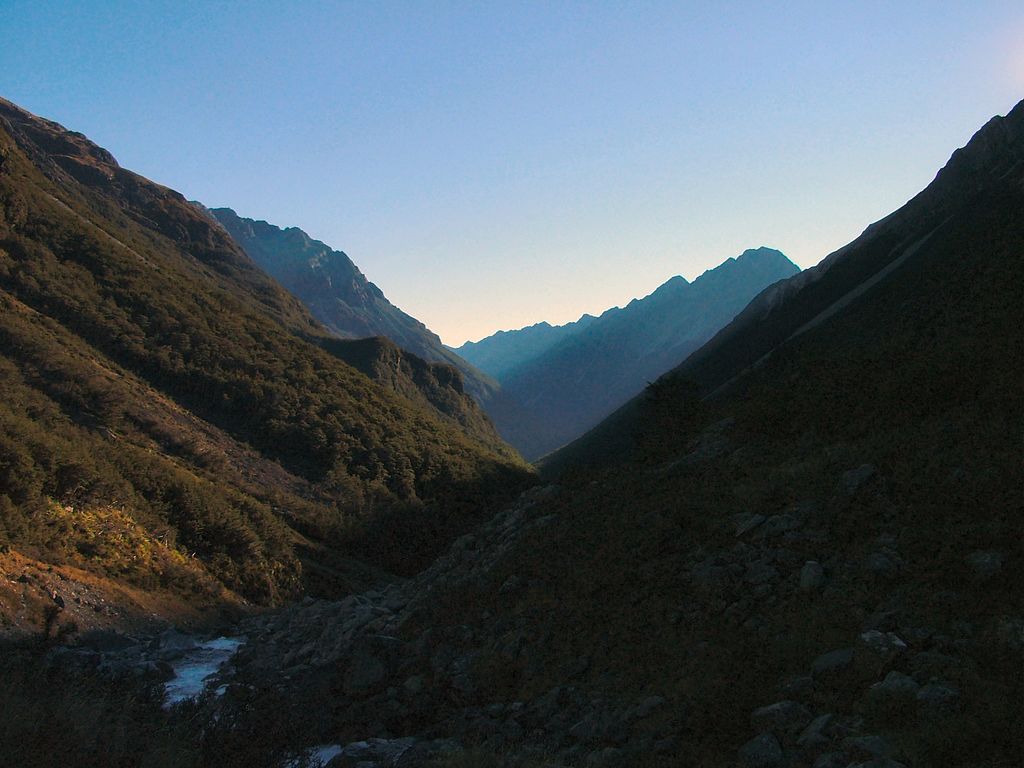
 Early morning in the West Branch of the Sabine.
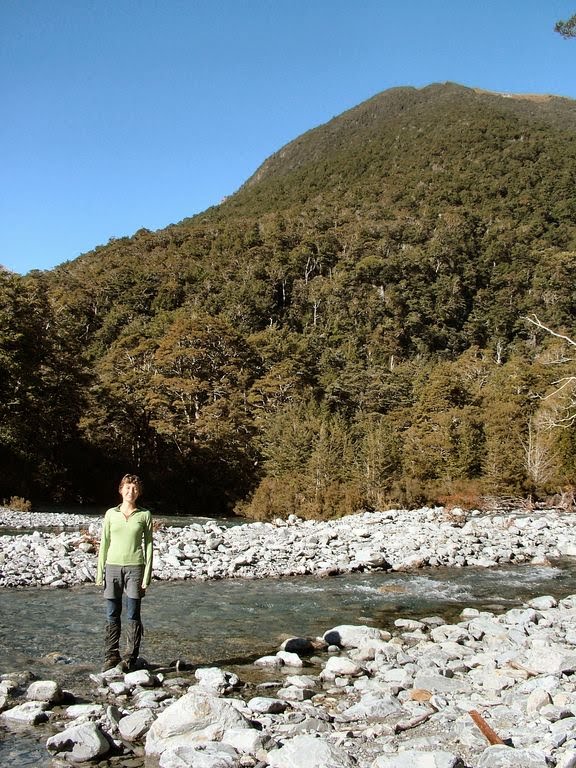
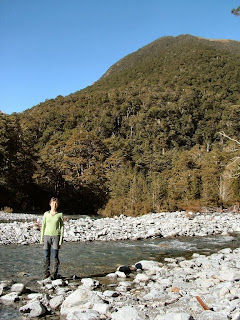 Quintessential NZ at Sabine Forks.
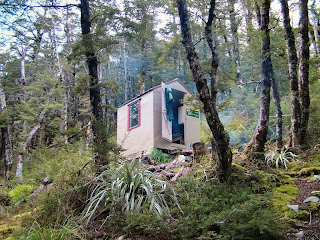
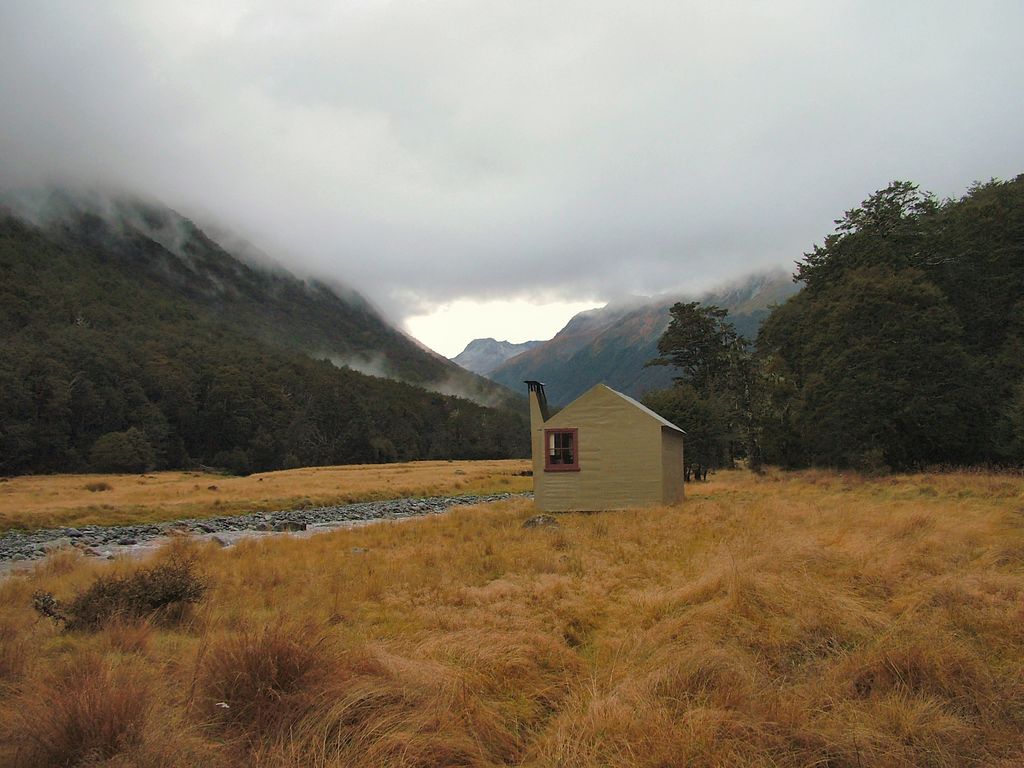
 West Sabine Hut.
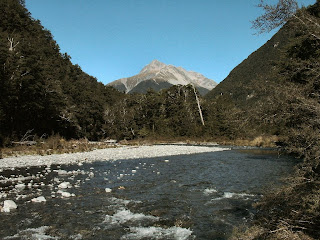 The Sabine River.
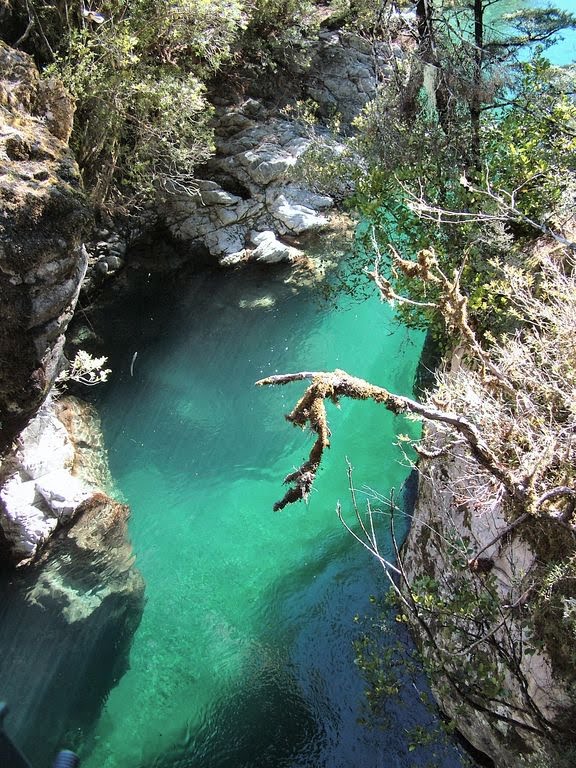
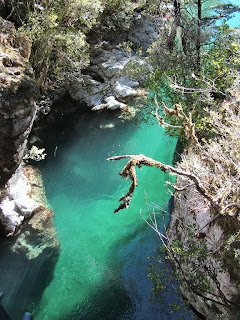 Sabine River gorge near Sabine Hut.
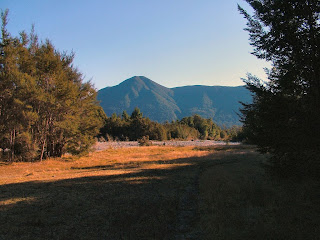
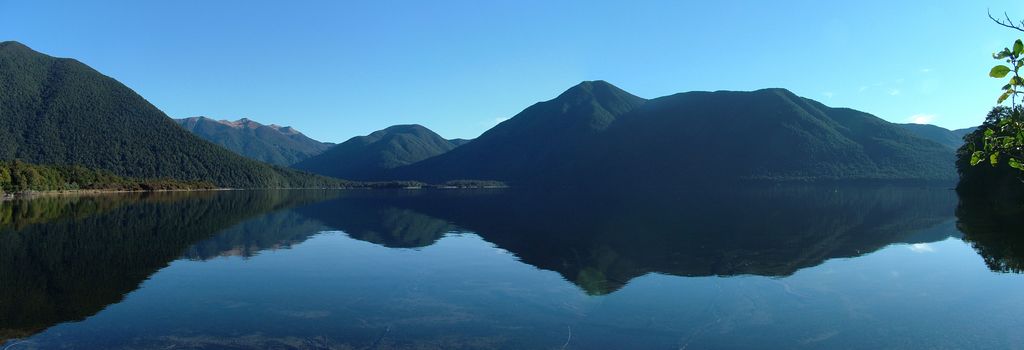
 Late autumn light over Lake Rotoroa.
We left Sabine hut at 3:30, and walked in to darkness as we climbed to the new Speargrass Hut, eventually reaching it at around 7:30. I had forgotten how much fun tramping at night was. The occupants of the hut were surprised to see us arrive, but made for good company and we had a nice warm evening there.
 Late afternoon in the Sabine Valley.
 Speargrass track in the evening.
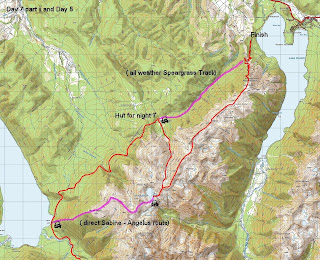
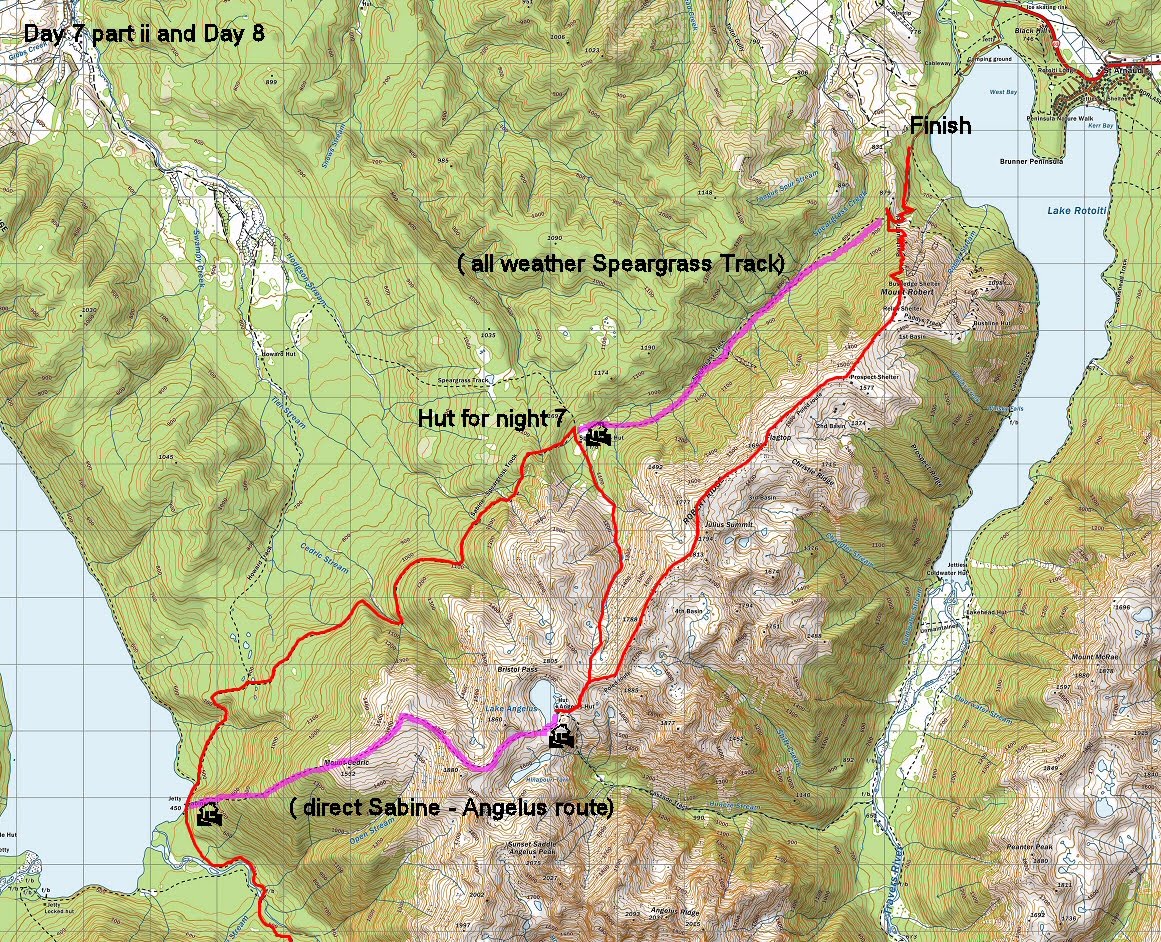
Our final day took us out along the Robert Ridge to St Arnaud. We took the Sabine Creek route on to the Robert Ridge, before making a short side trip to Lake Angelus and the new Angelus Hut. Situated in a large basin this brand new hut is very popular and requires booking in advance during peak season.
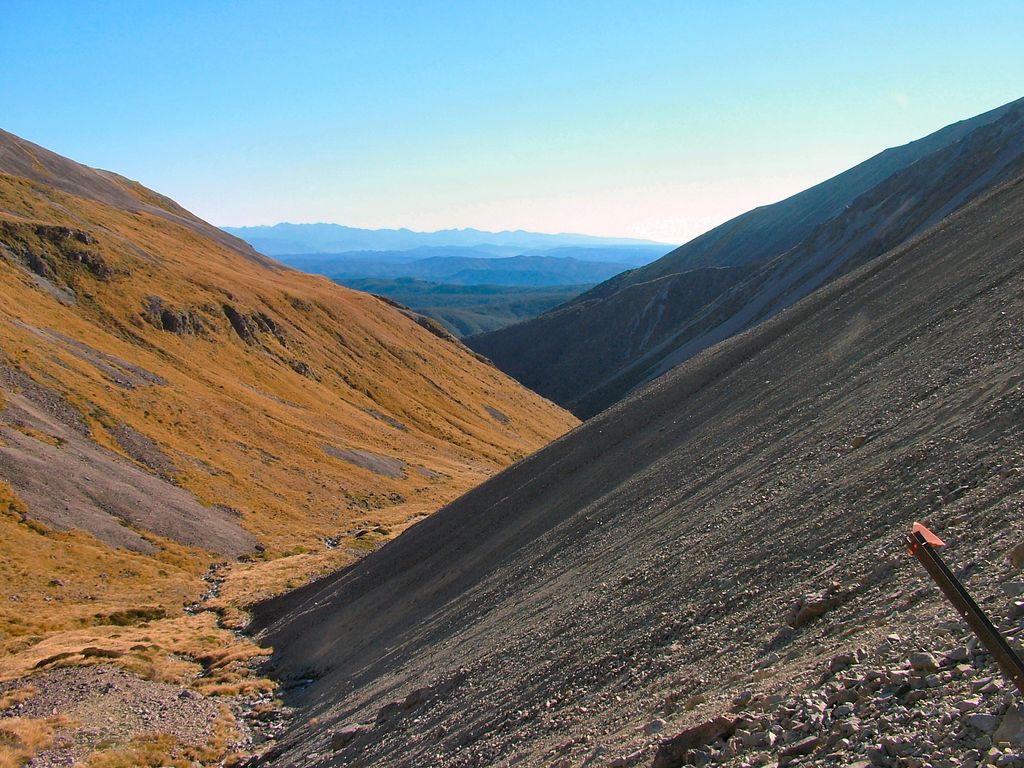
 Looking back down the Speargrass Creek route.
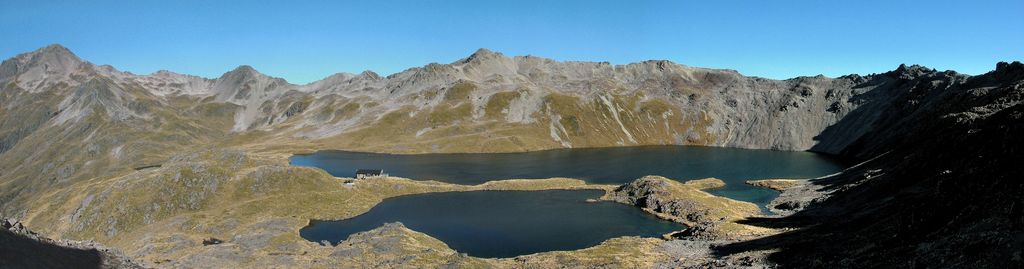
 Lake Angelus and Angelus Hut.
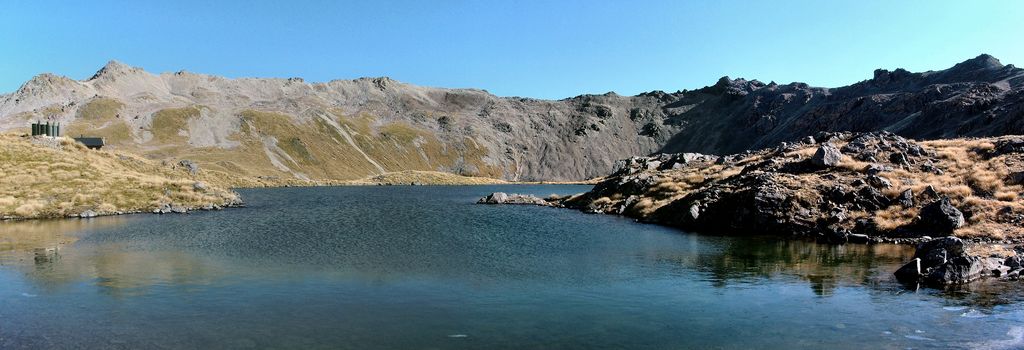
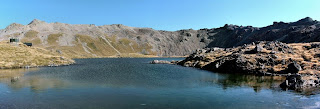 Lake Angelus.
The return along the Robert Ridge was straight forward with good views over the Travers Valley. We met many people heading in to Angelus for the night as we walked out. The final descent from Mount Robert seems to take forever, but is a 'front country' standard track and of good quality. A lot of work has been carried out on this section to control erosion in recent years with promising results.
 On the Robert Ridge.
 On the Robert Ridge.
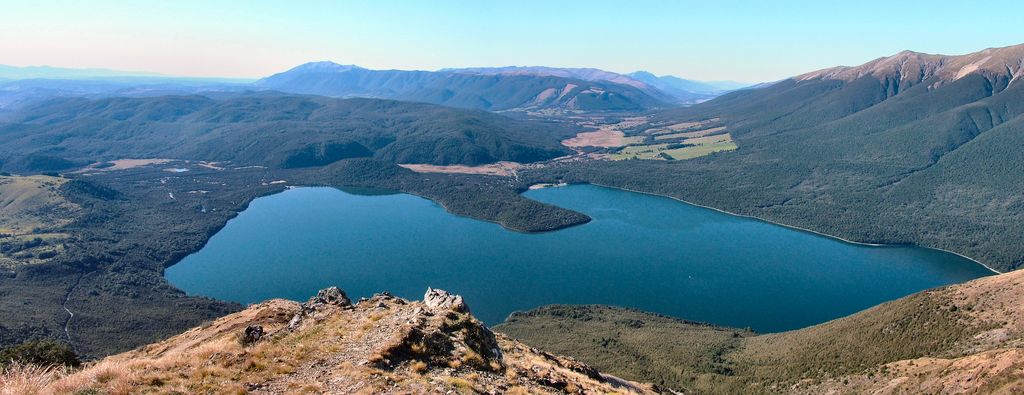
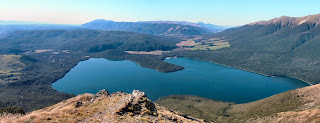 Lake Rotoiti from near Mt Robert.
We hitched a ride back from the car park road which saved us a good 6km of gravel road bashing before heading to the fish and chip shop for a decent feed. Our friends had been good enough to wait for us in St Arnaud and even very kindly drove us back to our car that evening, so we headed straight back to Christchurch from there for a welcome shower.


